Campus Event Accessibility Checklist for Brands
Make accessibility part of your event purchase. Assign responsibilities, test the student journey, and require evidence before approving your campus activation.
By Collegiate Agency
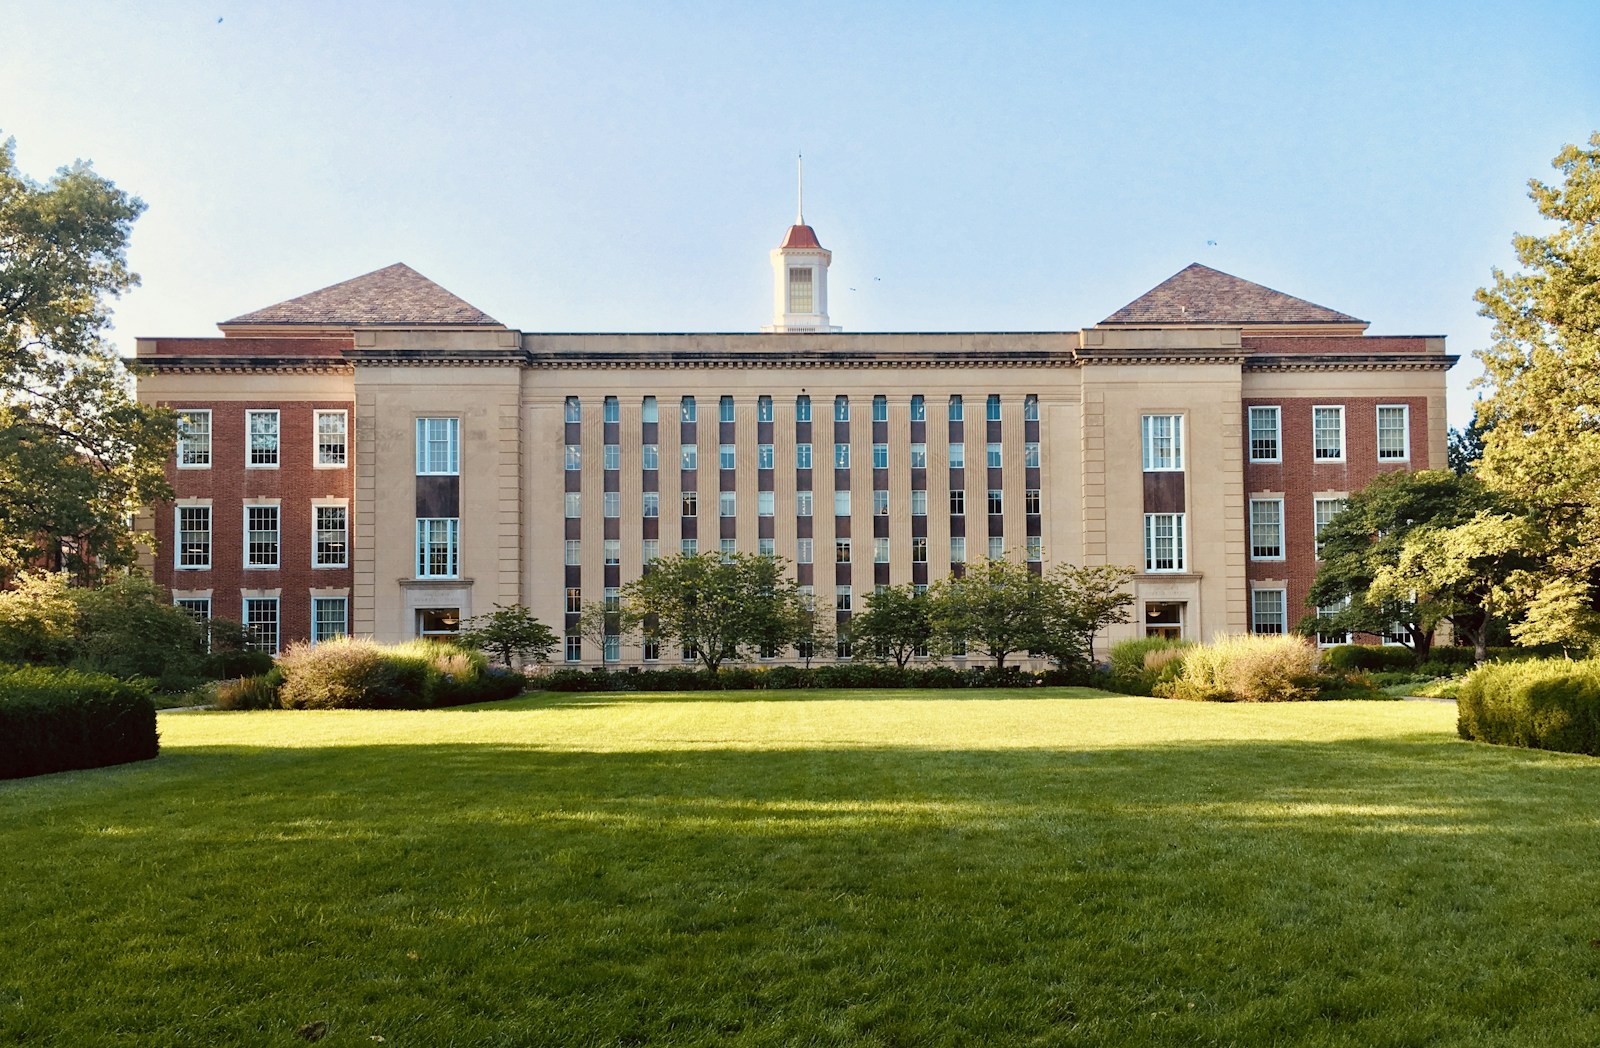
Photo: Michael Marsh / Unsplash · License. Illustrative campus photograph, not a Collegiate Agency activation or endorsement.
Your campus event accessibility checklist should shape what you buy, not sit at the bottom of the production brief. Before you approve an agency proposal, establish how students will discover your activation, reach it, understand the offer, participate, and leave. A booth can look finished while still preventing someone from joining the experience.
For a brand buyer, the practical question is whether your vendor can turn accessibility requirements into assigned work and verifiable acceptance checks. This guide focuses on that purchasing decision, rather than general event ideas or staffing headcounts. Use it with your campus contact, producer, and accessibility reviewer before releasing fabrication or confirming the final layout.
Illustrative campus photograph, not a Collegiate Agency activation or endorsement.
Put accessibility responsibilities in the scope
Start with a responsibility sheet covering the venue, event agency, fabrication supplier, digital team, and brand approver. Name an accountable owner for each decision. The venue may control an entrance while your agency controls the queue leading to it. Neither arrangement excuses leaving the connection between them unreviewed.
Ask your campus contact which accessibility office or designated reviewer should participate. Obtain the site's requirements and approval process before treating a drawing as final. Your vendor should identify assumptions that depend on campus confirmation, including available routes, restroom access, power placement, and emergency arrangements. A claim that a campus is accessible does not establish that your temporary installation will be.
When requesting campus event planning and production support, include accessibility review, layout revisions, communication formats, and an opening walkthrough as explicit scope items. Ask bidders to identify included work, specialist support, and unresolved dependencies. Compare those responses rather than accepting a general promise to handle accessibility on site.
Keep legal review separate from marketing approval. Requirements depend on the entities involved and the circumstances; this checklist is an operational planning aid, not a legal compliance certification. Have the appropriate campus and legal reviewers confirm applicable obligations. Your contract should explain who corrects deficiencies and who can stop opening until a critical issue is resolved.
Review the entire route, not just the booth
Trace the journey from the arrival information you publish to the activity itself. Review the approach from relevant transit stops, parking areas, and campus walkways with the venue. Confirm which entrance students should use and whether it will actually be available during event hours. Do not publish an accessible route based only on a daytime site visit if your activation opens later.
Request a layout showing queues, counters, furniture, cables, product storage, and the space needed to move between activities. Have the qualified reviewer check dimensions and applicable standards. Decorative items, extra cartons, and sponsor signs belong on that drawing too. Otherwise, a clear plan can become a blocked route when the brand dressing arrives.
Inspect the surface conditions of outdoor locations. Grass, loose material, slopes, and weather changes can affect whether the proposed route works. Ask what approved surface or alternate location is available if conditions change. Do not treat carrying someone, moving their mobility device, or asking them to wait elsewhere as an acceptable planning substitute.
Check participation positions as carefully as entrances. Can a student approach the demonstration, view the instructions, and receive the product without reaching across an obstructed counter? Can someone leave the queue without moving against incoming traffic? Resolve these questions through layout changes before buying custom fixtures. Include the relocated or rain-plan setup in the same review rather than assuming it inherits the original approval.
Make instructions and demonstrations understandable
List the information a student needs at each stage: where to go, what the activity involves, how to participate, and how to ask for assistance. Avoid putting essential instructions only in a spoken pitch, a fast-moving screen, or a QR code. Provide usable alternatives appropriate to the communication and confirm that the team knows where to find them.
The U.S. Department of Justice's guidance on effective communication under the ADA explains that covered entities must provide auxiliary aids and services when needed. It identifies the nature, length, complexity, and context of communication, along with the person's usual communication methods, as relevant considerations. Use that guidance with your reviewer when deciding what support your actual demonstration requires; it does not certify a particular event format.
Review prerecorded videos for captions and check whether important visual information also needs an accessible alternative. For live presentations, determine appropriate communication support in advance with qualified assistance. Do not assume a printed handout replaces every spoken interaction or that automatic captions will be adequate in every setting. Test the selected approach in the actual sound and lighting conditions.
Make your registration and accommodation-request process usable before promotion begins. Publish a clear way to request assistance and identify who monitors it. Describe confirmed access features specifically instead of making an unsupported blanket claim that every need is covered. Avoid collecting medical histories through promotional forms. Keep operational requests with the people responsible for responding, not in a general marketing export.
Test equal participation in the brand experience
Walk through the core activity and distinguish essential product steps from optional entertainment. A fast reaction game, standing-only photo setup, or audio-only quiz may introduce barriers unrelated to understanding your product. Ask whether you can change the primary experience so more students can participate without needing a separate process.
Where an alternative is necessary, evaluate whether it provides a genuinely comparable opportunity. A student should not receive a weaker product explanation or lose access to the main offer simply because the default activity is unsuitable. Have your accessibility reviewer assess the approach. Avoid treating a separate giveaway as an automatic solution to an inaccessible demonstration.
Review sensory conditions as part of the experience design. Identify loud audio, flashing effects, crowded holding areas, and places where students may need a calmer conversation. Explain relevant conditions before participation when appropriate, and consider removing effects that do not serve the product objective. Any quieter option still needs a clear route, staffing, and understandable instructions.
If you use student brand ambassadors for event outreach and participation support, put these procedures in their briefing. Reps should explain options, ask before assisting, and escalate requests without asking students to disclose personal details publicly. Do not expect a student rep to act as an interpreter, accessibility specialist, or medical responder unless separately qualified and assigned to that role.
Rehearse realistic exceptions: the screen fails, an alternate entrance is locked, or a participant cannot use the registration device. Your team needs an approved response and a decision owner, not permission to invent a workaround under pressure.
Use this approval checklist before opening
Make the checklist a release condition for production and repeat the relevant checks after installation. Store the approved layout and responsibility sheet where the site lead can access them. Record unresolved issues plainly; a green status should mean a check was completed, not that someone expects it to work.
| Checkpoint | Evidence to review | Decision owner |
|---|---|---|
| Route and entrance | Confirmed path, unlocked entry, wayfinding, and assistance contact | Venue lead |
| Installed footprint | Clear queue, counter access, cable control, storage, and participation space | Production lead |
| Communication support | Tested signage, captions, instructions, request process, and staff escalation path | Brand approver |
| Participation alternative | Comparable way to join the activity without losing the offer or product explanation | Accessibility reviewer |
- Campus review: Obtain the applicable site requirements, designated reviewer, approval steps, and open questions before finalizing the installation.
- Arrival information: Confirm the published route, operating entrance, wayfinding, and assistance instructions against actual event hours.
- Installed layout: Inspect queues, surfaces, furniture, counters, storage, and cables after setup, including the approach to each participation point.
- Communication: Test signage, instructions, registration, video, and approved communication support in their event conditions.
- Participation: Rehearse the core activity and any approved alternatives without reducing access to the offer or product explanation.
- Team readiness: Ask staff to demonstrate how they explain options, respond to requests, and reach the person authorized to resolve barriers.
- Contingencies: Review relocation, equipment failure, changing surfaces, and emergency coordination with the venue rather than improvising after opening.
- Release authority: Name the person who signs off, the person who can pause an affected activity, and the evidence needed to restart it.
Ask the supplier to price unresolved corrections before you approve the order whenever possible. Accessibility should not be treated as an undefined optional extra. At the same time, leave a clear change-approval path for needs discovered later. A budget boundary does not establish whether an obligation can be declined; route those decisions to the appropriate reviewers.
Keep the access plan active during delivery
Assign someone to check that approved routes and participation positions remain usable throughout the activation. Restocked cartons, relocated signs, and expanding queues can undo an opening inspection. Give staff a simple way to report barriers and require the lead to record the response. If a critical feature fails, pause the affected activity until an appropriate solution is approved.
Capture operational evidence without turning accommodation requests into audience profiling. Your closeout can document completed checks, corrected barriers, equipment failures, and changes needed for the next event. It does not need a list of attendees' disabilities. Follow your organization's approved handling and retention practices for any information collected while arranging assistance.
Evaluate the vendor on execution against the agreed scope, not on an unsupported claim that the event was accessible to everyone. A lack of complaints is not proof that every student could participate. Use observations and appropriately collected feedback to improve the next layout, briefing, and purchasing specification.
When you are ready to discuss a campus activation with Collegiate Agency, bring your proposed venue, activity, audience journey, campus review requirements, and unresolved access questions. Ask what work can be included and where specialist input is needed. The useful buying outcome is a defined, reviewed participation plan, not another promise attached to a finished booth.
Plug into the Night School Tour and our welcome-week network across campus markets.
Explore campus events